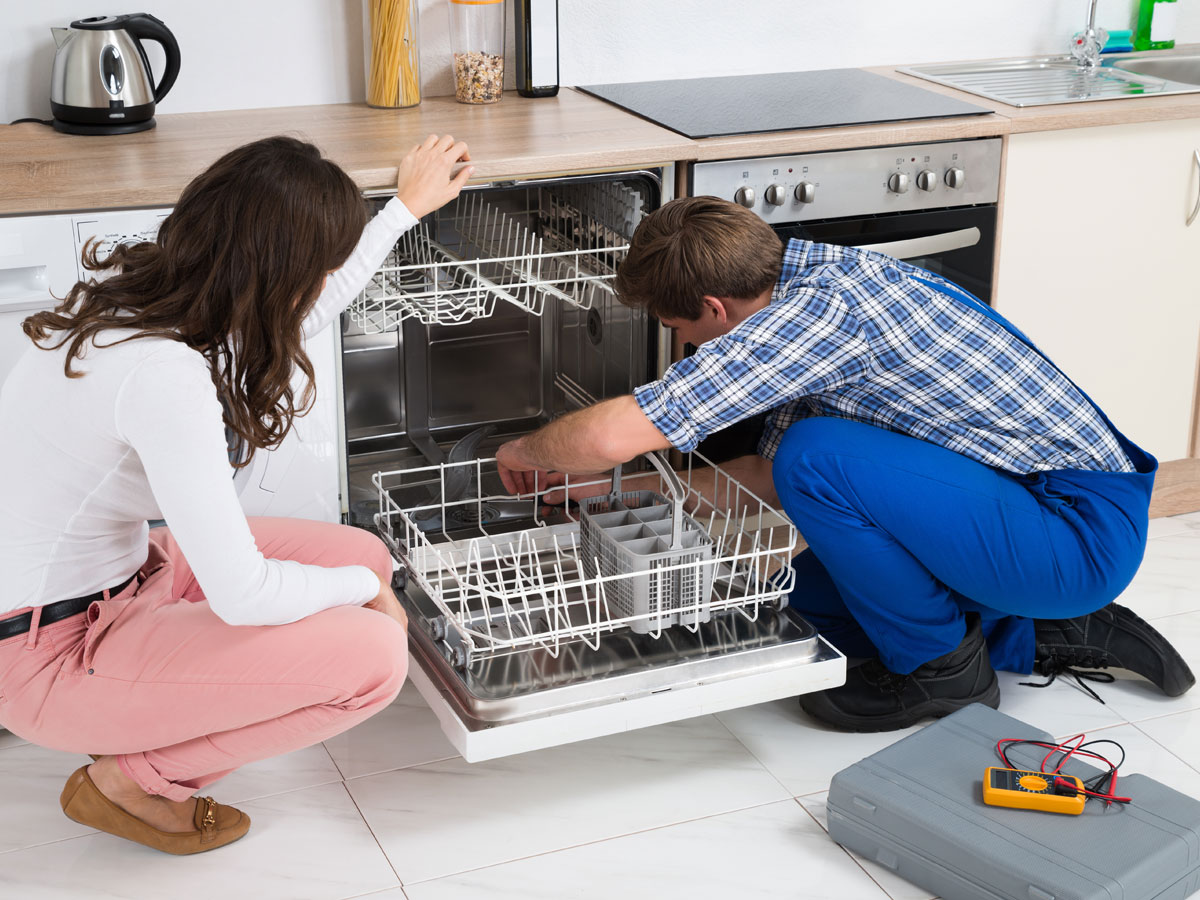
Misdiagnosing Dishwasher Issues: Common Repair Mistakes

Dishwashers have become a staple in modern kitchens, offering convenience and efficiency in cleaning dishes. However, like any appliance, they can encounter problems over time. When a dishwasher malfunctions, it’s tempting to try and fix the issue yourself. While DIY repairs can be cheaper, misdiagnosing the problem can lead to further damage and costlier repairs. Let’s discuss common mistakes made when diagnosing dishwasher problems and how to avoid them.

Common Dishwasher Issues

Before explaining misdiagnoses, it’s helpful to know some common problems that dishwashers can encounter:

  1. Not Draining Properly: Water remains at the bottom of the dishwasher after a cycle.
  2. Not Cleaning Dishes: Dishes come out dirty or with residue.
  3. Leaking: Water leaks from the dishwasher during operation.
  4. Not Filling with Water: The dishwasher doesn’t get enough water to clean dishes.
  5. Noisy Operation: Unusual noises during the wash cycle.
  6. Door Latch Problems: The door doesn’t close or latch properly.

Mistake 1: Assuming the Issue is Always Electrical

One of the most common mistakes is jumping to the conclusion that any problem with the dishwasher is electrical. While electrical issues can be the cause, they are not always the culprit. For instance, a dishwasher that doesn’t start could be due to a faulty door latch, not an electrical fault.

How to Avoid

  • Check Mechanical Components: Ensure that parts like the door latch, float switch, and spray arms are functioning properly.
  • Inspect for Obstructions: Look for any blockages in the filters or drains that might be causing the issue.

Mistake 2: Ignoring the Water Supply

Another frequent error is overlooking the water supply. Problems such as the dishwasher not filling with water are often due to issues with the water inlet valve or the home’s water supply, not the dishwasher itself.

How to Avoid

  • Verify Water Supply: Check that the water supply line is open and supplying water.
  • Inspect Inlet Valve: Make sure the water inlet valve is not clogged or malfunctioning.

Mistake 3: Misinterpreting Error Codes

Modern dishwashers often come with digital displays that show error codes when something goes wrong. Misinterpreting these codes can lead to incorrect diagnoses and ineffective repairs.

How to Avoid

  • Consult the Manual: Refer to the dishwasher’s manual to understand what the error codes mean.
  • Use Reliable Sources: Look up error codes on the manufacturer’s website or trusted repair forums.

Mistake 4: Overlooking the Drainage System

A common mistake is to overlook the dishwasher’s drainage system when diagnosing problems. Issues like water not draining properly or leaking can often be traced back to clogs or blockages in the drainage system.

How to Avoid This Mistake

  • Check the Drain Hose: Make sure that the drain hose is not kinked or clogged.
  • Clean Filters: Regularly clean the dishwasher’s filters to prevent blockages.

Mistake 5: Not Checking the Float Switch

The float switch is a small device inside the dishwasher that helps control the water level. If the float switch is stuck or malfunctioning, it can prevent the dishwasher from filling with water or cause it to overflow.

How to Avoid

  • Inspect the Float Switch: Make sure the float switch moves freely and is not obstructed.
  • Test for Functionality: Use a multimeter to test the float switch for continuity.

Mistake 6: Forgetting to Check for Leaks

Leaks can be deceptive, often appearing as minor issues but indicating more significant underlying problems. Misdiagnosing a leak can lead to improper repairs and further damage to your kitchen.

How to Avoid

  • Inspect Seals and Gaskets: Check the door seal and gaskets for wear and tear.
  • Look for Loose Connections: Ensure that all hose connections are tight and secure.

Mistake 7: Overlooking Routine Maintenance

Sometimes, the problem is not a malfunction but a lack of routine maintenance. Ignoring regular cleaning and upkeep can lead to build-up and performance issues.

How to Avoid

  • Clean Regularly: Clean the dishwasher’s interior, including the spray arms, filters, and door seals, regularly.
  • Run Maintenance Cycles: Use dishwasher cleaners to run maintenance cycles and keep the appliance in good condition.

When to Call a Professional

While DIY repairs can save money, some issues are best left to professionals. If you’ve tried troubleshooting and the problem persists, or if you’re unsure about your diagnosis, it’s time to call in an expert.

Benefits of Professional Repair

  • Accurate Diagnosis: Professionals have the tools and expertise to correctly identify the problem.
  • Safety: Trained technicians can safely handle electrical components and avoid potential hazards.
  • Efficiency: Professionals can quickly and efficiently repair your dishwasher, saving you time and frustration.

Conclusion

Diagnosing dishwasher issues correctly is vital for effective repairs and maintaining the longevity of your appliance. At Hilton Appliances, we’re here to help with all your dishwasher repair needs in Perth. Contact us for reliable, expert service that will get your dishwasher back in working order.
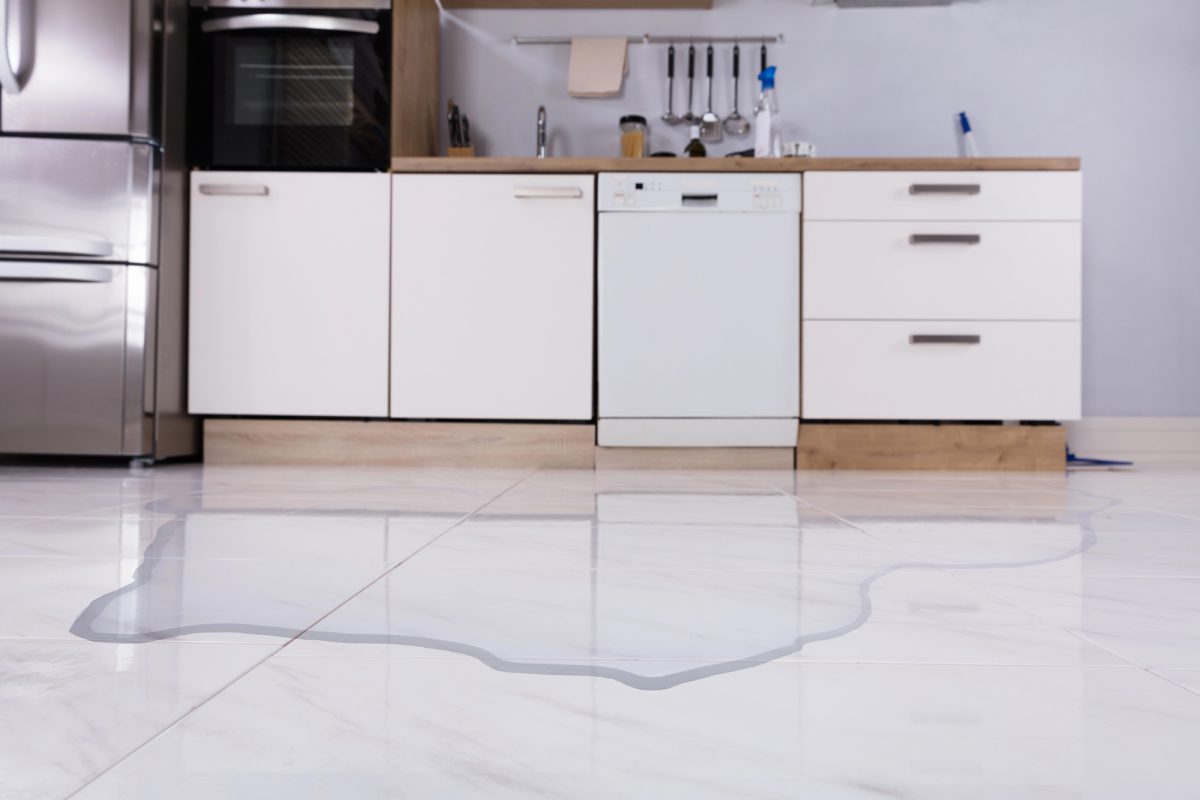
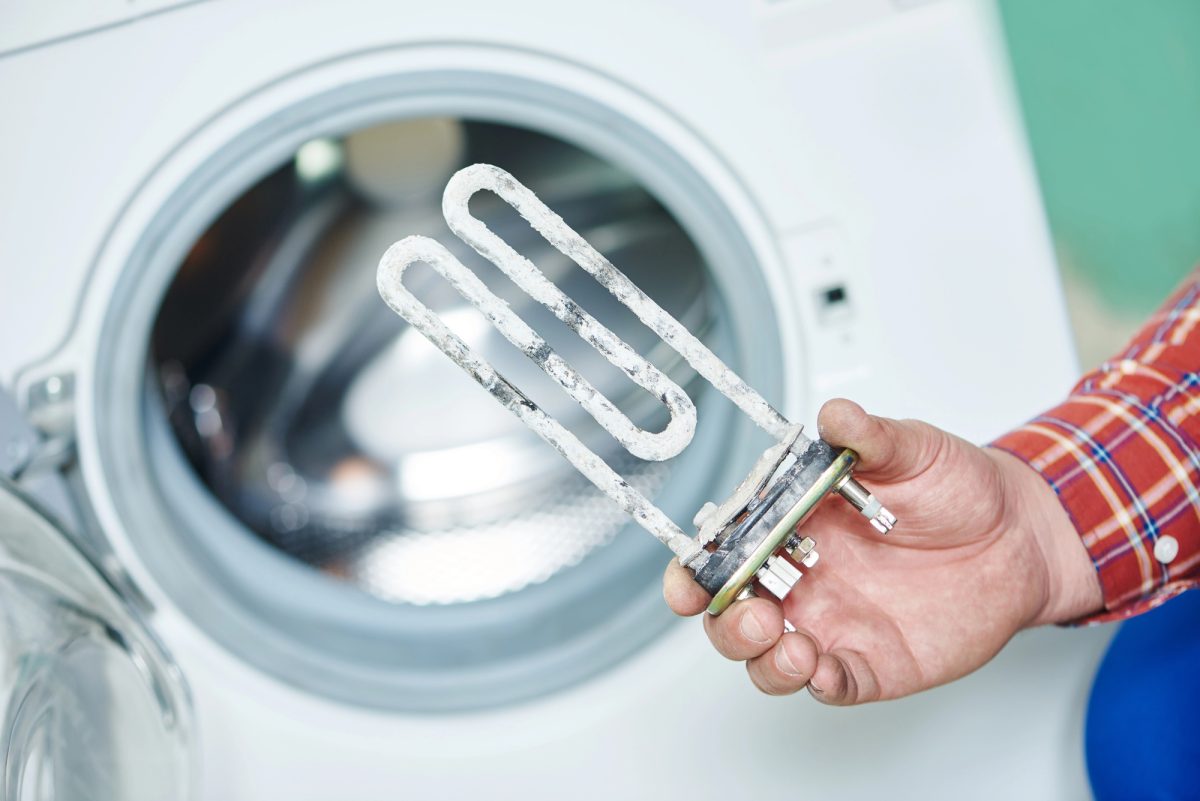
Understanding the Cost of Washing Machine Repair in Perth

A reliable washing machine is a cornerstone of every modern household. However, when your washing machine breaks down, it can be a major inconvenience. This article will break down the factors that influence repair costs, typical expenses you might encounter, and how to choose a reliable repair service.

Common Washing Machine Problems

Before discussing costs, it’s useful to understand common washing machine issues that might require professional repair:

  1. Water Leaks: Leaks can be caused by damaged hoses, faulty door seals, or problems with the water pump.
  2. Not Draining Properly: This issue often stems from a clogged drain hose, faulty pump, or blocked filters.
  3. Not Spinning: A washing machine that doesn’t spin may have a broken belt, faulty motor, or issues with the lid switch.
  4. Strange Noises: Unusual sounds can indicate problems with the drum bearings, motor, or foreign objects stuck inside the drum.
  5. Failure to Start: Electrical issues, a faulty control board, or a broken door latch can prevent the machine from starting.

Factors Influencing Repair Costs

1. Type and Severity of the Problem

The nature of the problem significantly affects repair costs. Minor issues like replacing a door seal or unclogging a drain hose will be less expensive than major repairs such as replacing a motor or control board.

2. Parts Needed

The cost of parts can vary widely depending on the brand and model of your washing machine. Genuine parts for high-end models will generally cost more than parts for standard models.

3. Labour Costs

Labour costs can vary based on the complexity of the repair and the time required to complete it. Some repairs are straightforward and quick, while others may be more complex and time-consuming.

4. Service Call Fees

Many repair services charge a call-out fee, which covers the technician’s visit to diagnose the problem. This fee is often included in the total repair cost but can vary from one service provider to another.

5. Location

Your location within Perth can also affect repair costs. Services in the city centre might be more expensive than those in the suburbs due to higher operational costs.

Typical Washing Machine Repair Costs

While actual costs can vary, here are some typical expenses you might encounter for common washing machine repairs:

  1. Replacing a Door Seal: $100 – $200
  2. Fixing a Water Leak: $150 – $300
  3. Repairing the Drainage System: $150 – $350
  4. Replacing a Motor: $200 – $400
  5. Fixing Electrical Issues: $200 – $500

Preventing Future Problems

Regular maintenance can help prevent many common washing machine issues. Here are some tips to keep your machine running smoothly:

  1. Clean the Drum and Dispenser: Regularly clean the drum and detergent dispenser to prevent build-up and mould growth.
  2. Check the Hoses: Inspect the hoses for signs of wear or damage and replace them if necessary.
  3. Avoid Overloading: Don’t overload the machine, as this can strain the motor and other components.
  4. Use the Right Detergent: Use high-efficiency (HE) detergent to prevent excess suds, which can affect performance.

Conclusion

When you understand the costs associated with washing machine repairs in Perth, it can help you make informed decisions when issues arise. You can get your washing machine back in working order without breaking the bank when you choose a reliable repair service. At Hilton Appliances, we are committed to providing high-quality, affordable repair services to keep your appliances running smoothly. Contact us for expert, reliable service tailored to your needs.

Top Dishwasher Repair Mistakes to Avoid

Dishwashers are an essential part of modern kitchens, offering convenience and efficiency for daily household chores. However, like any other appliance, dishwashers require regular maintenance and occasional repairs to keep them running smoothly. While it’s tempting to tackle dishwasher repairs yourself, certain common mistakes can lead to bigger issues, potentially resulting in costly damages.

In this article, we’ll explore the top dishwasher repair mistakes to avoid, ensuring your appliance remains in excellent working condition. Whether you’re facing minor glitches or major malfunctions, being aware of these pitfalls can save you time and money. For professional dishwasher repair services in Perth, visit our dedicated page.

Common Dishwasher Repair Mistakes

Mistake 1: Ignoring the Basics Before Troubleshooting

One of the first mistakes many people make when their dishwasher starts malfunctioning is jumping straight into complex repairs without checking the basics. Simple issues like clogged filters, blocked spray arms, or improperly loaded dishes can often cause problems that seem serious but are actually easy to fix. Before dismantling your dishwasher or calling for professional help, ensure you’ve checked these basic elements. Regular cleaning and proper loading can prevent many common dishwasher issues.

Mistake 2: Overestimating DIY Repair Skills

Dishwashers are complex appliances with intricate electrical and plumbing systems. While some minor issues can be resolved with a DIY approach, overestimating your repair skills can lead to further damage. It’s crucial to understand your limits and avoid attempting repairs that require professional expertise. Replacing certain parts, like the electronic control panel or the motor, should be left to skilled technicians. This not only ensures a proper fix but also maintains the warranty and safety of your appliance.

Avoiding Further Damage: More Common Mistakes

Mistake 3: Using incompatible parts for repairs

A common pitfall in dishwasher repair is using parts that are not specifically designed for your model. Using generic or incompatible components may seem like a cost-effective solution, but it can lead to more serious problems down the line. Always ensure that replacement parts are compatible with your dishwasher’s make and model. This not only guarantees the efficiency of the repair but also preserves the longevity and performance of your appliance.

Mistake 4: Neglecting Professional Advice

Many homeowners attempt to fix their dishwashers based on online tutorials or general advice, overlooking the specifics of their model. Each dishwasher is unique, and what works for one might not be suitable for another. Seeking professional advice, especially for complex issues, is crucial. Experienced technicians offer tailored solutions that consider your appliance’s specific needs, ensuring a repair that’s both effective and safe.

Conclusion

Avoiding these common dishwasher repair mistakes can save you time and money in the long run. While it’s helpful to understand the basics of dishwasher maintenance, certain repairs require a professional touch. If you’re in Perth and facing dishwasher troubles, consider seeking expert help from Hilton Appliance Repairs. With experienced technicians and a commitment to quality service, we ensure your dishwasher is repaired correctly and efficiently. For more information or to schedule a service, visit our dishwasher repair page.

Westinghouse Oven Not Heating: Troubleshooting Guide

Westinghouse ovens are renowned for their reliability and efficiency in kitchens across Australia. However, like any appliance, they may occasionally encounter problems. One of the most common issues faced by users is that the oven is not heating properly. This can be a significant inconvenience, especially when you’re preparing meals for your family or entertaining guests. Understanding the potential causes of this issue can help in troubleshooting and resolving it effectively.

Potential Causes of Heating Problems

  1. Faulty Heating Element: The heating element is the core component responsible for heating the oven. If it’s damaged or malfunctioning, the oven won’t heat up correctly.
  2. Thermostat Issues: The thermostat regulates the oven’s temperature. A faulty thermostat can lead to uneven or insufficient heating.
  3. Ignition Problems (For Gas Ovens): Gas ovens rely on an igniter to start the heating process. Issues with the igniter can prevent the oven from heating.
  4. Electrical Issues: Problems with the oven’s electrical connections can disrupt its heating capability.

Identifying the issue

The first step in troubleshooting a Westinghouse oven that’s not heating is identifying the root cause. This can be done by checking each component systematically. Start with the heating element, looking for visible signs of damage such as blistering or splits. Next, assess the thermostat by monitoring the oven’s temperature consistency. For gas ovens, inspect the igniter to ensure it’s sparking and igniting the gas. Finally, check for any loose or damaged electrical connections.

By understanding these common issues, you can take the first step towards diagnosing and fixing your Westinghouse oven. Remember, if you are unsure, it’s always best to consult with a professional oven repair technician like Hilton Appliance Repairs to ensure safety and efficiency.

Detailed Troubleshooting Methods for Westinghouse Oven Issues

When your Westinghouse oven is not heating properly, it’s crucial to delve into more specific troubleshooting techniques. This section will guide you through practical steps to diagnose and potentially resolve the heating issues your oven is facing.

Troubleshooting the Heating Element

  1. Visual Inspection: Turn off the oven, wait a few hours for it to cool, and then inspect the heating element for any visible signs of damage. Look for blisters, cracks, or areas where the element may have burned out.
  2. Testing Continuity: Using a multimeter, test the heating element for continuity. A lack of continuity indicates that the element needs to be replaced.

Addressing Thermostat Issues

  1. Check Calibration: Ensure that the thermostat is correctly calibrated. An improperly calibrated thermostat can lead to inaccurate temperature settings.
  2. Replace if necessary: If recalibration doesn’t resolve the issue, the thermostat may need to be replaced. This task is best left to a professional.

Solving Ignition Problems in Gas Ovens

  1. Inspect the igniter: Check the igniter for dirt or damage. Clean it gently if it’s dirty, or replace it if it appears damaged.
  2. Observe the Ignition Process: Turn on the oven and observe the igniter. If it glows for a while without igniting the gas, it’s weak and should be replaced.

Electrical connection issues

  1. Safety First: Ensure the oven is unplugged or the circuit breaker is off before examining any electrical components.
  2. Check Connections: Examine the oven’s wiring and connections for any signs of damage or loose connections. Repair or secure as necessary.

When to Seek Professional Help

While some issues can be resolved with DIY methods, others require professional expertise. If you’re not confident in your ability to safely perform these tasks, or if the problem persists after your troubleshooting attempts, it’s advisable to contact a professional. Technicians specialising in Westinghouse oven repairs, like those at Hilton Appliance Repairs, have the expertise and tools to diagnose and fix your oven efficiently and safely.

By following these troubleshooting steps, you can often diagnose and sometimes even resolve common heating issues with your Westinghouse oven. However, safety should always be your top priority. If in doubt, don’t hesitate to reach out to professional appliance repair services.

Maintaining Your Westinghouse Oven: Prevention and Care

To ensure the longevity and optimal performance of your Westinghouse oven, regular maintenance is key. This section will provide you with valuable tips to keep your oven in top condition, helping to prevent future heating issues and other common problems.

Regular Cleaning

  1. Interior Cleaning: Regularly clean the interior of your oven to prevent the buildup of grease and food residues. Use a gentle oven cleaner and avoid harsh chemicals that can damage the oven’s interior surfaces.
  2. Clean the Heating Element: Gently wipe the heating element with a damp cloth. Be sure not to damage the element, as this can lead to heating problems.

Inspect and maintain seals

  1. Check the Door Seal: Inspect the oven door seal for any signs of wear, tear, or damage. A faulty seal can lead to heat loss, affecting the oven’s efficiency.
  2. Replace if needed: If the seal is damaged, replace it promptly to ensure proper heat retention and oven function.

Regular Component Checks

  1. Heating Element: Periodically check the heating element for signs of wear or damage.
  2. Thermostat Calibration: Test and recalibrate the thermostat as needed to ensure accurate temperature settings.

Gas Oven Specifics

  1. Inspect the Igniter and Gas Lines: For gas ovens, regularly check the igniter and gas lines for signs of wear or damage.
  2. Professional Check-ups: Consider having a professional inspect the gas components periodically for safety and efficiency.

Electrical Safety

  1. Check Electrical Connections: For electric ovens, periodically inspect electrical connections to ensure they are secure and undamaged.
  2. Professional Electrical Inspection: If you notice any issues with the oven’s electrical system, have it inspected by a qualified technician.

Seeking professional help

Even with regular maintenance, some issues may require professional attention. If you encounter complex problems or are unsure about any aspect of your oven’s maintenance, do not hesitate to contact professionals like Hilton Appliance Repairs. Their expertise in Westinghouse oven repairs can provide you with peace of mind and ensure your oven is functioning safely and efficiently.

By following these maintenance tips, you can greatly reduce the likelihood of encountering heating issues with your Westinghouse oven and ensure it serves you well for years to come.

Office Currently Closed

Send us details of your problem and we can schedule your work in first thing.

After Hours

You’ve come to our site after hours. If you enter your information below our team will be happy to contact you at a desired time when the office opens again.